Your First Project
Now that you have created your account, it’s time to dive into your first project with Printsite Studio. This guide will walk you through the basic steps to get you started.
Step-by-Step Guide
Section titled “Step-by-Step Guide”Log In to Your Account
Section titled “Log In to Your Account”Go to the Printsite Studio website and log in using your credentials.
Create a New Project
Section titled “Create a New Project”Click on the “New Project” button on the dashboard.
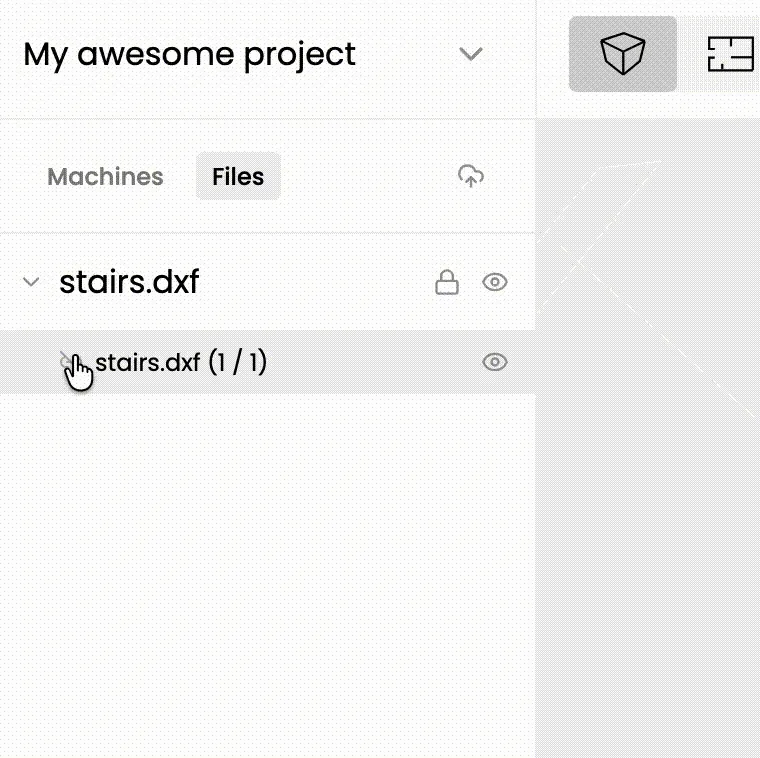
Upload Your 3D Model
Section titled “Upload Your 3D Model”- Click on the “Upload file” button.
- Click on the “Upload a file” button.

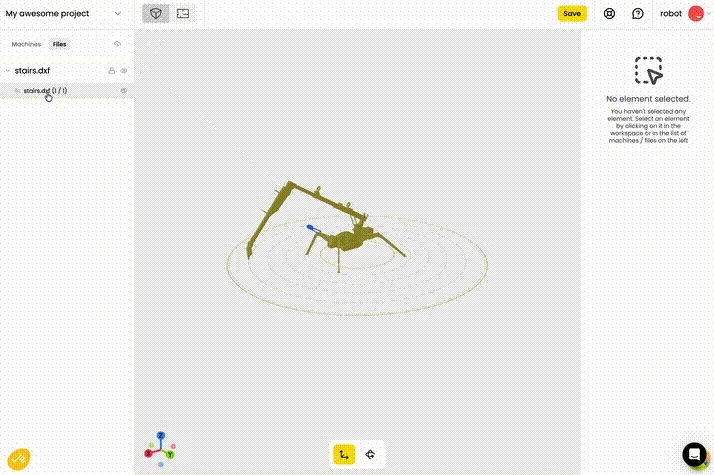
Once uploaded, your model will appear in the workspace.
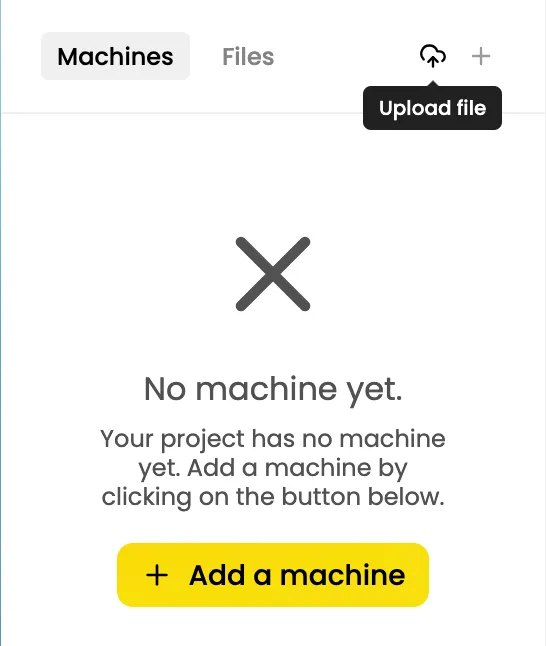
Add a machine
Section titled “Add a machine”Go to the machines tab, and click on the ”+” button on the top right. If you have no machine yet, you can also click on the ”+ Add a machine” button

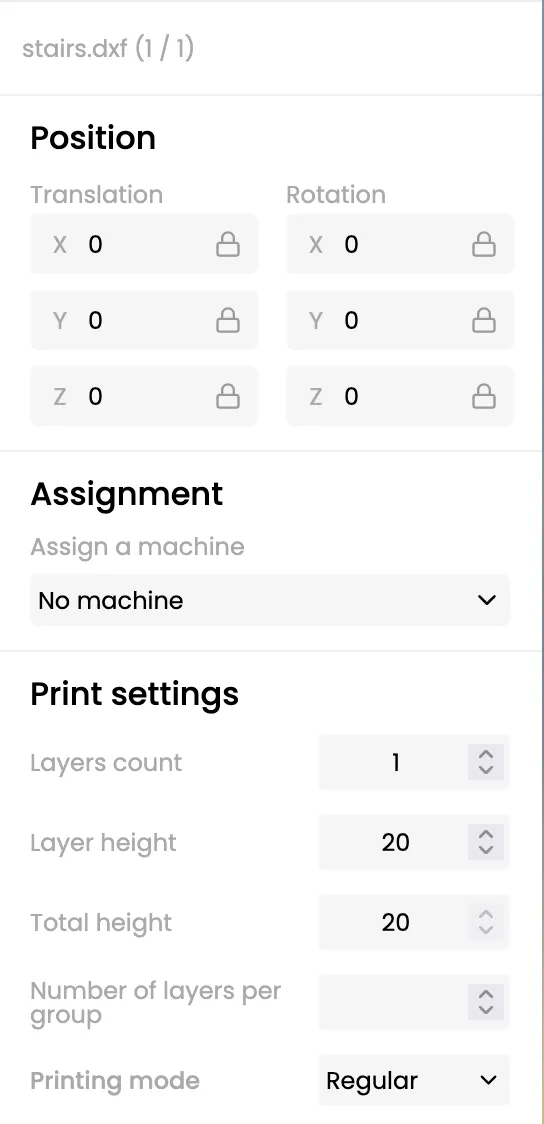
Assign a machine
Section titled “Assign a machine”- Right click on the file you want to assign
- Hover the “Assign to” menu
- Select the machine you want to assign to
- Left click on the machine you want to assign your files to
- Right click on every file you want to assign
- Click on the file name to show its details in the right bar
- Select the machine you want to assign to in the “Assignment” section
Configure Slicing Settings
Section titled “Configure Slicing Settings”- Select your file
- Set the settings you want in the “Print settings” of the file. You can find more details about those settings in the Print Settings page
Preview and download your Gcode
Section titled “Preview and download your Gcode”- Once you’re happy with your settings, select your machine from the Machines tab on the left
- Click “Preview the Gcode” at the bottom of the right bar
- Check that your Gcode is correct
- Click “Download the Gcode” at the top right of the screen
Tips for a Successful First Project
Section titled “Tips for a Successful First Project”- Start Simple: For your first project, choose a simple 3D model to get familiar with the slicing process and settings.
- Consult the Documentation: Refer to the Printsite Studio documentation and tutorials for detailed guidance on each step.